Quick setup for PostgreSQL + phpPgAdmin + Nginx
archived on 2014-12-07
This is a step by step guide to get PostgreSQL + phpPgAdmin running with Nginx on an Ubuntu 14.04 server! There are plenty of references and similar tutorials online and this is just one of many ways to configure things.
1. Installation
First, lets install postgreSQL and phpPgAdmin.
By default, Apache will likely be the webserver. Also phpPgAdmin uses Apache by default. But we want to configure it with Nginx, so lets install Nginx.
This should automatically start Nginx as the web server. You could also type this to start the service.
2. Setup PostgreSQL & phpPgAdmin
2.1 PostgreSQL
First login as the postgres user
Lets create a new postgres role (user)
The --interactive adds some initial permissions and the -P means assign a password. These could also be added in later. It should look something like this
postgres@your_machine_name:~$ createuser -P --interactive
Enter name of role to add: test
Enter password for new role:
Enter it again:
Shall the new role be a superuser? (y/n) n
Shall the new role be allowed to create databases? (y/n) y
Shall the new role be allowed to create more new roles? (y/n) n
postgres@your_machine_name:~$
This creates a role called test that can create databases but is not a superuser. It's good practice to create different roles for different tasks and keep the superuser only as postgres. You can verify if the role exists by typing psql and then typing \du .
2.2 phpPgAdmin
The default installation of phpPgAdmin will automatically connect to postgreSQL server. Unless you have modified any configuration, you can leave this as is.
3. Setup Nginx
First lets add a symbolic link to the directory where you intend to place all your web files in.
There are a couple of ways to configure the URL for phpPgAdmin. You could set it up as a location within your main domain like example.com/phppgadmin. You could also create a subdomain that will look like phppgadmin.example.com. We will do the latter.
First create an A record called phppgadmin.This could potentially be anything you choose. Set the IP address for this A record to that of your machine (Same as the IP address for your main domain).
Next, lets create a server block for phpPgAdmin. Create a file /etc/nginx/sites-available/phppgadmin with the following contents. Note: This will only work if there exists a server block for the main domain.
# Server block for phppgadmin service
server{
        server_name     phppgadmin.example.com;
        root            /path/to/your/www/phppgadmin;

        access_log      /var/log/phppgadmin/access.log;
        error_log       /var/log/phppgadmin/error.log;

        location ~ \.php$ {
                try_files $uri =404;
                fastcgi_split_path_info ^(.+\.php)(/.+)$;
                fastcgi_pass unix:/var/run/php5-fpm.sock;
                fastcgi_index index.php;
                fastcgi_param SCRIPT_FILENAME /path/to/your/www/postgres$fastcgi_script_name;
                include /etc/nginx/fastcgi_params;
        }
}
By default Nginx includes all the servers in the folder /etc/nginx/sites-enabled. So lets add a symbolic link to the new server we created to let nginx know about our new server!
Now all that is left to do is to restart/reload Nginx and our phpPgAdmin is ready to go!
or
Make sure you've included these in nginx.conf file
Optional
A simple way to increase security is by being more restrictive with access to the phpPgAdmin page. You could do this by adding the following block within the server block for phppgadmin shown above.
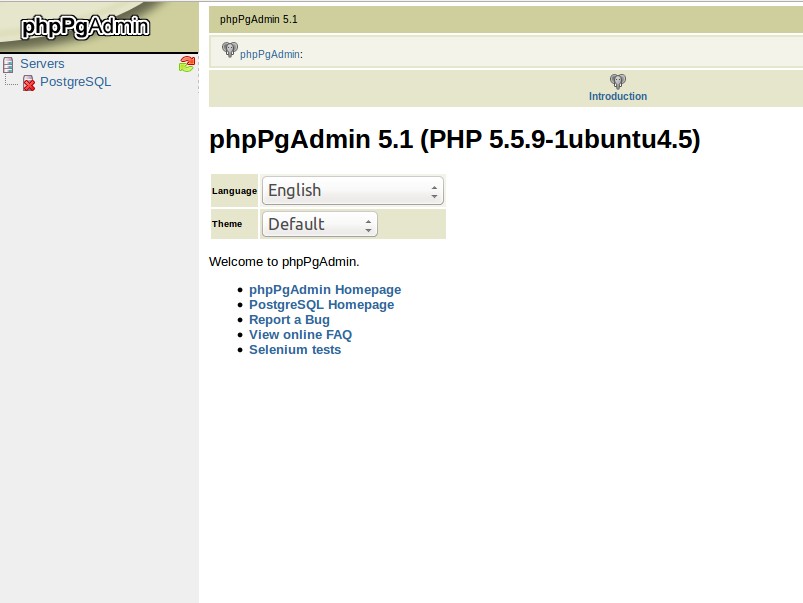
And that is it! Make sure you run sudo service nginx reload and your phpPgAdmin is ready to go. If you now go to phppgadmin.<your-domain>.com, you must find the starting page where you can login with the role you created earlier.
 {: .text-center .py-2